21 enero 2017

Fog Volume 3, pre-release notes.

It was 2013 when I started developing Fog Volume. I didn't decide to do it by myself, but Robert Briscoe asked me if I could do it for his project Dear Esther. I was really busy by that time, working full time on Deadlight, writing some skin and atmosphere Tech for The Forest and teaching UDK at U-TAD, but I found the time to do a first implementation.

Until now I have not worked too much on it, some weeks last year and some bug fixing here and there.

Now, with the last Unite demo done, I didn't have much else to do, so I decided to put all my efforts here.

From what I see on twitter, I put the first stone of Fog Volume 3 in October. I got really motivated and have not stopped yet. It's been 3 months working an average of 15h/day. Sometimes more than 30 hours without sleeping. Sleep 4 and work another 20. And #repeat til death#

But today I started to see the light at the end of the tunnel. My task list is getting thinner now. And some bigger tasks will be postponed for future versions.

So, what can Fog Volume 3 do? Lets watch some short videos (sort by date):


 A very important part of every piece of software is making it painless to the user. Fog Volume 3 is HUGE, frigging huge, so dealing with 3 vertical screens of weird parameters was not an option. For that reason, I wrote a modular interface:


Some of the new features require more cameras, and other objects with scripts added to them. All of that happens under the hood. The user won't see anything of that. Everything just happens when a checker is activated. All the communication with those mysterious objects is done through the Fog Volume 3 interface.

Having said what's Fog Volume, lets talk about what is not.


 Fog Volume is not:

  • Time of the day system
  • Weather system
  • Atmosphere system
Will it be? Maybe. All depends on the market reaction.


Transparency:

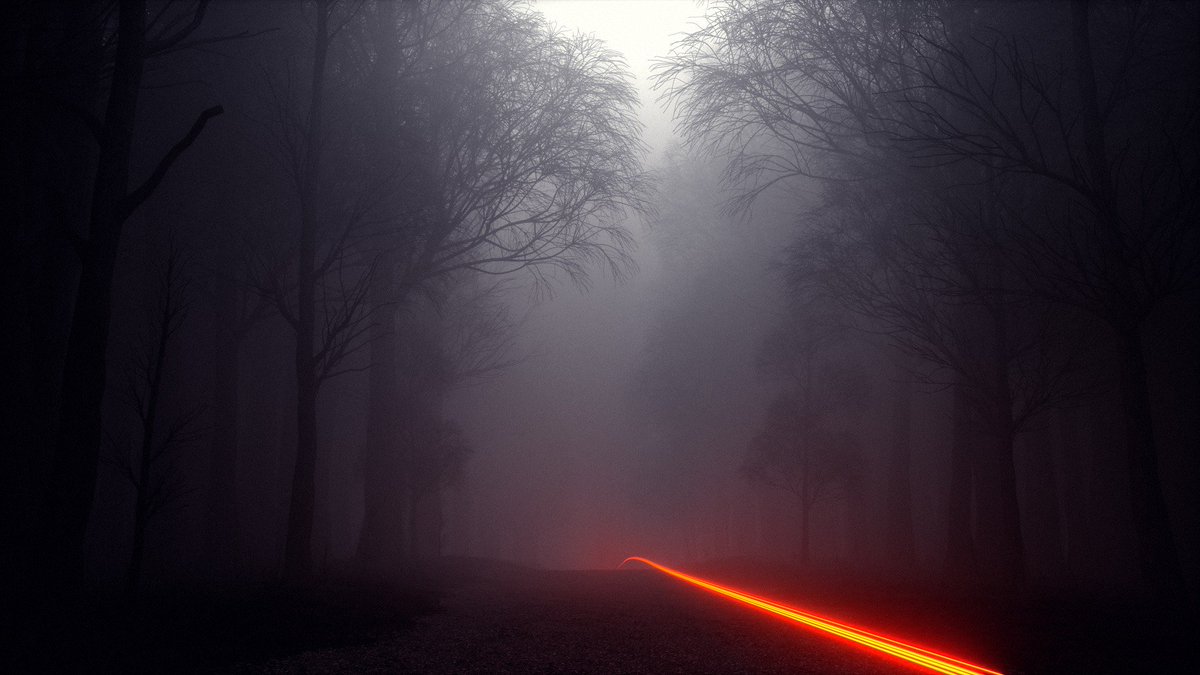
I bet nobody have solved the problem of blending transparent shaders with raymarch shaders. Fog Volume will suffer of the same. What can you do? You can have a Fog Volume in the background:


So you can use it for high clouds, but don't ever put transparent objects inside the volume.

In case you don't like Unity's default fog and want a different method in your project, lets say realistic scattering, height fog or whatever... you will have to code a whole new shading core. I have done that several times, but never released any to the public because that's a deep modification that needs a coder in the project to integrate and maintain the system.


Performance:

Raymarching is expensive by definition (almost). I tried to find where I was wasting gpu power in the older version. Regarding this, v3 can do more with less. Apart from that, having in mind that the noise input is a 3D texture of 128 pixels, we may think that rendering it dowscaled won't be a drama. And that's it, I included a module to render it with a secondary camera. I put a script in the main camera where we have access to this secondary camera properties. I would have placed it in the Fog Volume object, but this is a global process and common for n-Fog Volumes.
In this script we have some parameters:
  • Dowscale
  • Upsampling options
  • TAA made by Inside team and other important researchers.
This is how it looks, but I have to make a custom inspector for it though

VR:

VR is possible, but at what cost? Dunno yet. The initial release won't support rendering the effect down-sampled, but I will work on that aspect after the release. Rendering the effect full scale wont produce any issue in VR.


Volumetric Shadows:

Shadow mapping is not done at the moment. What I do is to sample the opacity of a given object placed on top of the volume. So atm, I would use this feature to cast shadows from clouds, as shown in the picture below. Another case that comes to my mind to use this would be a corridor with windows.
I sample this map along the volume after some down-sampling and blur.
For realism, I wanted to control the amount of blur based on the distance from the shadow caster to the hit point, but I will do that in the future.
Shadow direction will be correct if your relative rotationX between light and the volume don't exceed approx 30º. This is because I reuse the volume coordinates to do the trick. I would have to generate a new set of coordinates using the light matrix. This part is subject to evolve in the future, lets see where it ends.
You could have 360º volume shadows while the relative rotation between light and volume don't exceed those 30º. I added a checker to attach the light to the volume rotation (relative rotation = 0). This is how Robert Cupisz volume light works. Once activated, I turn off a keyworkd where the shadow direction was computed. I told you I tried to avoid wasting gpu power!.


 After all of that, I apply this map to a screen space decal material to shade the scene.


Viewports:

Fog Volume will be rendered in both viewports. Note that Scene view will be super expensive compared to Game view when you have dowsampling activated.


Intended platforms:

Mainly BIG machines although simple fog woks smoothly on mobile

Future plans:

  • Full volumetric lighting
  • Presets system
  • TOD && Sky scattering? Only if the mass ask for it
  • VR
  • Noise texture generator 
  • Subtractive sphere distance fields 
  • Interleaved sampling 
  • Modify TAA for HDR output 
  • More debug view modes 
  • Scene blur. Thanks Lee Perry-Smith for the ideas and refs


That's all, folks!

11 noviembre 2016

Unite 2016: GPU instancing demo

Recently, I worked on a demo that demonstrates GPU instancing on Metal API. I had 10 days to make all the art, shaders and scene setup. C# was provided by Unity.

The demo was shown at the Unite 2016 event:


Local captures:


Protoplanet sculpt:
 

Asteroid sculpt:
 

15 agosto 2016

Arid Environment Set for UE4.


It's been a year since we climbed that high mountain searching for rocks to scan. Today we are happy to show you a scene that we have built using the collected data.


I asked my bro to build something simple with the rocks I just imported into the editor, just to let him learn a bit of the Editor basics.

I began to do some tests by myself. In the meantime, he trained hard. Weeks later I started to think that we could maybe work in the scene together, so I created a level for him, moved the project to Dropbox and shared it with him, so we would be able to work on it at the same time.

I asked him to build an exterior area, so he designed and built it. Later I added all the detail.


Some time ago I bought an HTC VIVE device, so it was a must to try it here. I learned the basics to make it possible and the scene is officially playable with it.

The initial plan was to do something way more simple, but sometimes, what starts as something small ends up as something huge!


25 junio 2016

Advances in Sub-surface scattering

The system had been gathering dust for more than two years now, but my current client wanted to invest on it for his product.

In the last two months many things have changed and improved. The system supports now multi profile, as seen in UE4. This means that we can have many different organic materials on screen at the same time: skin, eyes, teeth... Other types of organic materials will be on the task list, but for now we can simulate other materials such as marble, honey or opaque glass with the same shader, it's pretty flexible.


 Translucency has improved to allow light to travel through the subject:


Another experiment in course was percentage close shadow filtering


Last addition to the character render was eyes rendering. Its a very hard task to cheat our brain when it comes to human perception. We are specially sensitive in face recognition and I think we will never cross the uncanny valley :)


11 enero 2016

SAS - Standard Anisotropic Shader

During December I worked on an update of my Cloth Shader for Unity 4 After some days of work several ideas came to my head. "What if it is suitable for metals?", "What if I make a metals demo?" "What if I try to shade a cymbal? "What if supports transparency?", "What if... carbon fiber!!", "What if, what if...." So it started to grow until I realized it was too big/flexible to deliver it as a simple update. Instead of that, I have released it as an upgrade for previous buyers of the old cloth shader.
The new version aims to model any kind of scratched surfaces.


12 septiembre 2015

Removing ambient occlusion from photo-scanned subjects

This is a simple idea I came up  last night. I was making a little stone that would be used rotated in every axis. Then I figured out that the ambient lighting of the original capture won't match with the scene. This was the subject:


So the idea was to convert this diffuse into an albedo. The method consist on emulating the scenario to get a simulation of the original lighting conditions I had there. Then I will use the inverse of that result to brighten the original captured diffuse.
You see there the lighting came from every direction from the clouds and a little percent of it came from the ground (typical hemisphere lighting).
So the scene can be emulated like this:


Here is the resulting ambient occlusion:


Captured albedo. Notice it matches perfectly with the emulated AO


Now, I inverted the AO and blended it as "Linear Light" with opacity 50%. Other blending modes may be tested; "Lighten" seems to work pretty nicely too.

I can now bake a new AO without any other geometry than the model:


And finally, the diffuse texture after the surgery session:


29 agosto 2015

From real world to real-time

Since May my life has been a mess. I moved to Tenerife with the idea of building my home-studio. It's progressing, slowly, but progressing. But well, thats another story for another post. The thing is that there is a mountain close to my house here in Tenerife with very interesting rock formations. I really wanted to have that kind of rocks in my assets bucket to use them here and there.
I have tried to model rocks several times, but the result was always terrible. So the solution was obvious, photoscan!
I asked my brother if he may like to climb that mountain to take some photos. I told him the plan and he agreed.

This was the target:


Climbing and searching interesting rocks to scan.


Scary views!


Although there were rocks everywhere, it was not easy to find good ones because most of them were not accesible, covered with lichens, or with vegetation growing everywere.
The ideal rock should be shadowed, with no vegetation on it, young enough for not being too eroded or covered by lichens and accesible from every side. But well, we found some. We had to remove all the vegetation on/around it first.

The first attempt on processing the data took 15 hours to complete. I made a 200k mesh. The final mesh should be at least 2 million dense! How long would that take? Absolutely impossible. I had no choice, I spent 2000€ on new hardware: 
Then I was able to compute a 4 million triangle mesh in 2-3 hours or so. Here is the rough mesh


Then I had to remove all the crap in the borders:


"And what now?" -I asked myself
- O_o
- Do I have to fill all of that by hand?
- I guess...
- It will never look as good as the original
- I know, but what else can we do?
- -_-' 
- Do you know how to do that?
- No idea. you?
- ¬_¬
- Okay, I'll find the way

Yeah, I had to fill all the missed surface to convert that into an usable asset. I started with a rough shape:


 Then I applied Dynamesh in zBrush and removed the bottom cap:


5 hours later:


Once with the modelling "done" I made the low poly with decimation master and the UVs with UV master (easy way). The next step was to project the texture, bake normal, AO and cavity to use them in DDO.


I used DDO mostly to render the model, I didn't use much of it in this case. The texture fix was done with Mudbox. I didn't spend much time on that, probably less than 3 hours.


PS. Special thanks to Lee Perry-Smith for the support and advices